
How To Change Snipping Tool Save Location: A Step-by-Step Guide
Ever wondered how to change the default save location for your Snipping Tool captures? You're not alone, my friend. Whether you're a power user or just starting out, tweaking this setting can save you tons of time and frustration. Let's dive right in and make your life easier with this simple yet powerful trick!
Picture this: you're in the middle of an important project, snapping screenshots left and right, and suddenly you realize all your captures are scattered across different folders. Sound familiar? The Snipping Tool is a lifesaver when it comes to quick screen captures, but its default save location can be a bit... well, annoying. Don't worry, we've got you covered. In this article, we'll walk you through how to change snipping tool save location so you can organize your files like a pro.
Before we get started, let me tell you something cool. This guide isn't just about changing the save location—it's about giving you control over your workflow. Whether you're using Windows 10, 11, or even older versions, the steps are pretty straightforward. So grab your favorite beverage, sit back, and let's make this happen!
Read also:Unlock The Secrets Of Americas Cardroom Freeroll Password
Why Changing Snipping Tool Save Location Matters
Let's face it, the default save location for the Snipping Tool can be a real headache. Most of the time, it saves your screenshots in the "Pictures" folder, which might work for casual users, but if you're someone who needs organization, this can be a total mess. Changing the save location allows you to:
- Keep your screenshots organized in specific folders.
- Save time by avoiding unnecessary file searches.
- Customize your workflow based on project requirements.
Trust me, once you learn how to change snipping tool save location, you'll wonder why you didn't do it sooner. It's like upgrading from a regular pen to a fancy highlighter—same job, but way better results!
Understanding the Snipping Tool
Before we jump into the technical stuff, let's take a moment to appreciate the Snipping Tool. This little gem has been around since Windows Vista and has helped millions of users capture screenshots effortlessly. But did you know it has more tricks up its sleeve? Here's a quick rundown:
With the Snipping Tool, you can:
- Capture full-screen shots.
- Select specific areas of your screen.
- Draw or annotate on your screenshots.
And now, with Windows 11, there's an even better version called the Snipping Tool (new), which offers more features and flexibility. But don't worry, the steps to change snipping tool save location remain the same across versions.
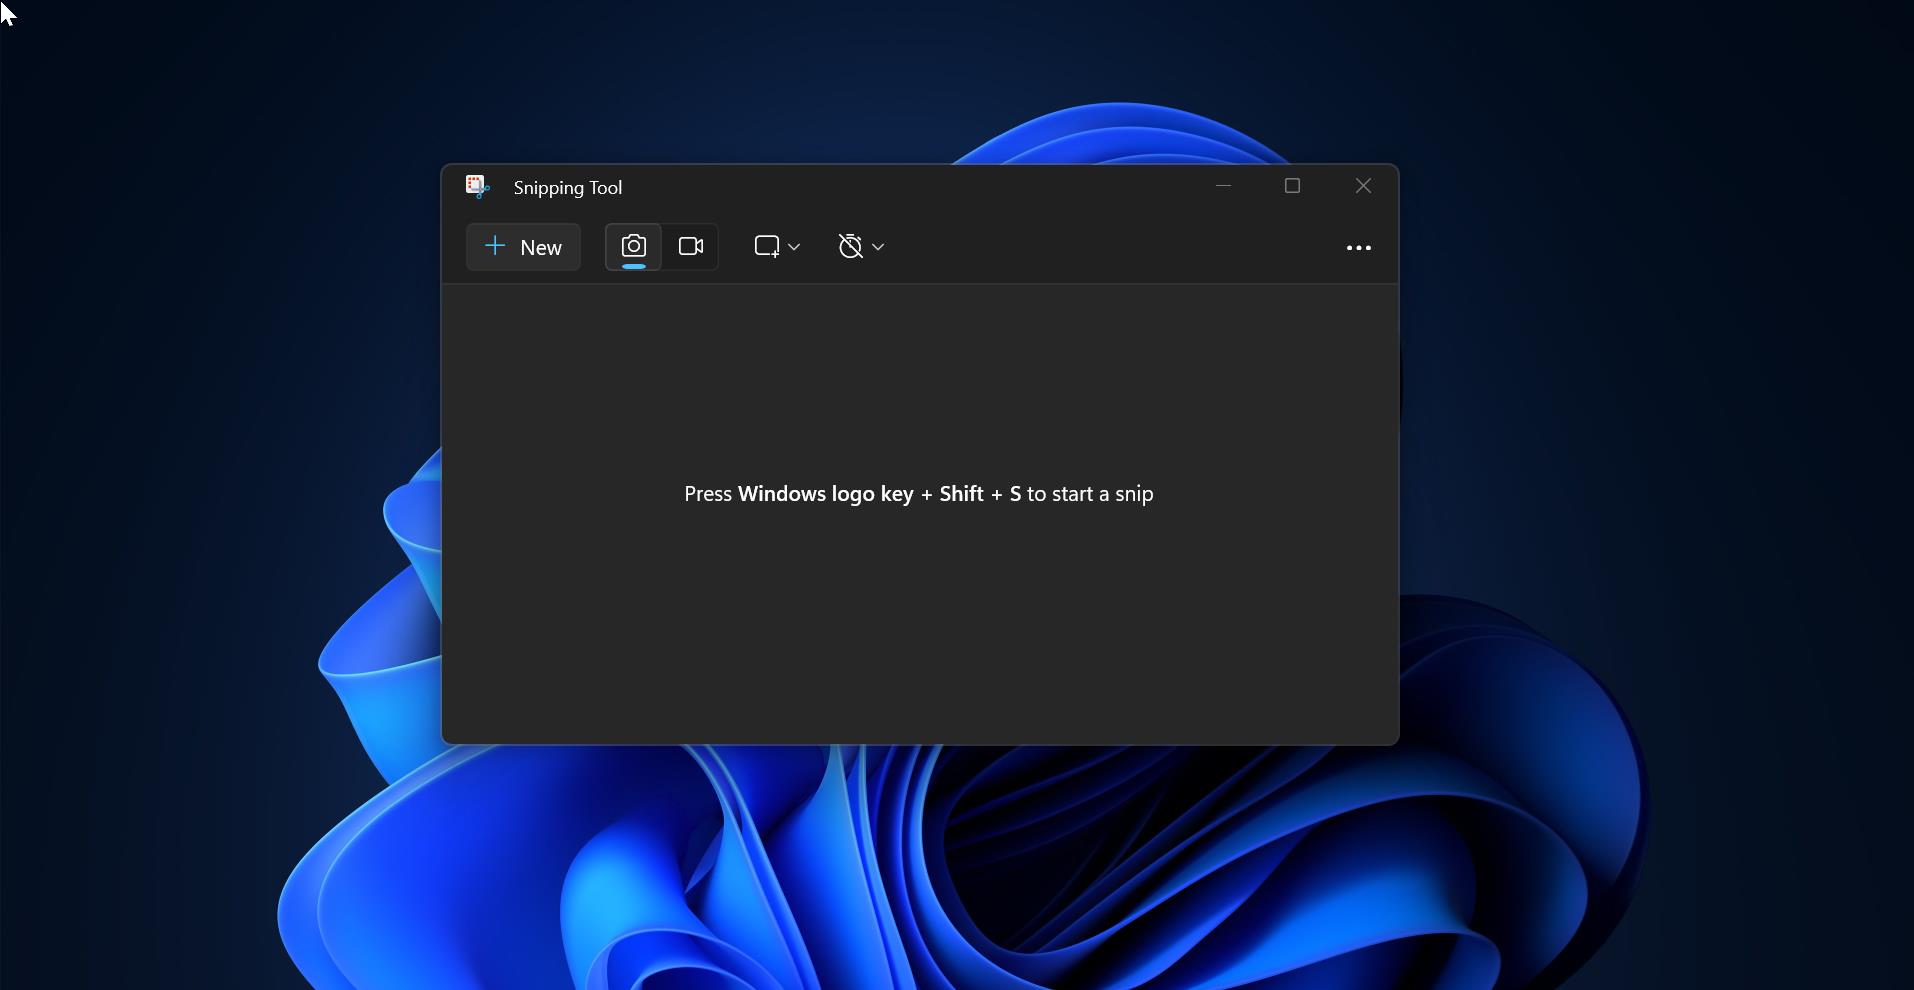
How the Snipping Tool Works
When you open the Snipping Tool, you'll see a simple interface with options like "New," "Delay," and "Options." Clicking on "Options" will open a settings menu where you can customize various settings, including—you guessed it—the save location. Pretty cool, right?
Read also:Servpro Of North Fulton Your Trusted Partner For Cleaning And Restoration Services
Step-by-Step Guide to Change Snipping Tool Save Location
Now that you know why changing the save location is important, let's get our hands dirty and make it happen. Follow these easy steps:
Step 1: Open the Snipping Tool
First things first, you need to open the Snipping Tool. Here's how:
- Press the Windows key and type "Snipping Tool" in the search bar.
- Select the Snipping Tool from the search results.
Voilà! You're now ready to roll.
Step 2: Access the Options Menu
Once the Snipping Tool is open, head over to the "Options" menu. You'll find it under the "File" tab in older versions or as a separate button in newer versions. Click on it to open the settings.
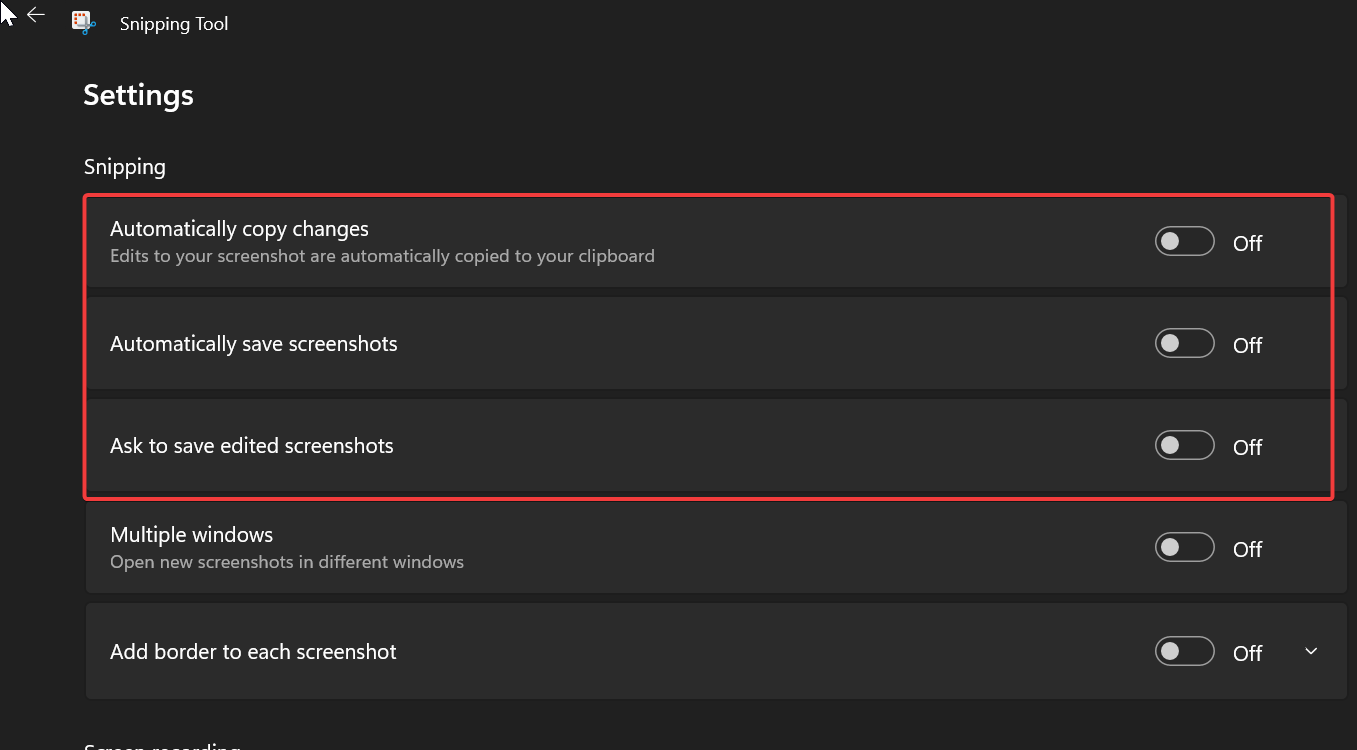
Step 3: Change the Save Location
In the Options menu, you'll see a section called "Save As." Here, you can specify the folder where you want your screenshots to be saved. To do this:
- Click on the "Browse" button.
- Select the desired folder or create a new one.
- Hit "OK" to confirm your choice.
And just like that, you've successfully changed the save location for your Snipping Tool captures!
Tips for Efficient Snipping
Changing the save location is just the beginning. Here are a few tips to help you make the most out of your Snipping Tool:
- Use keyboard shortcuts for faster captures (Windows + Shift + S).
- Experiment with different snip types (rectangular, free-form, window, etc.).
- Regularly clean up your screenshot folders to avoid clutter.
These little tricks might seem small, but they can make a huge difference in your productivity. Trust me, I've been there, and these tips have saved me countless hours.
Common Issues and Troubleshooting
Even the best tools can have hiccups. If you're having trouble changing the snipping tool save location, here are a few things to check:
- Make sure you have the necessary permissions to modify folder settings.
- Ensure the folder you're trying to save to isn't read-only.
- Try restarting your computer to apply changes.
If none of these work, don't panic. There are plenty of online forums and support communities where you can find solutions to your specific issue.
What to Do If the Snipping Tool Isn't Working
Sometimes, the Snipping Tool might not work as expected. If this happens, try the following:
- Reinstall the Snipping Tool from the Microsoft Store.
- Run a system file check to repair any corrupted files.
- Check for Windows updates to ensure you have the latest version.
These steps should help you get back on track in no time.
Alternatives to the Snipping Tool
While the Snipping Tool is great, it's not the only game in town. If you're looking for more advanced features or better performance, here are a few alternatives:
- Snagit: A powerful tool with tons of features for capturing and editing screenshots.
- Greenshot: A lightweight, open-source alternative with customizable hotkeys.
- Lightshot: A simple yet effective tool for quick captures and annotations.
Each of these tools has its own strengths, so it's worth exploring them to see which one fits your needs best.
Why Stick with the Snipping Tool?
Even with all these alternatives, the Snipping Tool remains a popular choice for many users. Why? Because it's built into Windows, easy to use, and gets the job done without any hassle. Plus, knowing how to change snipping tool save location gives you the flexibility you need to stay organized.
Conclusion: Take Control of Your Screenshots
Changing the snipping tool save location might seem like a small tweak, but it can have a big impact on your productivity. By organizing your screenshots in a way that works for you, you'll save time, reduce frustration, and streamline your workflow. So what are you waiting for? Give it a try and see the difference it makes!
As always, feel free to drop a comment below if you have any questions or suggestions. And don't forget to share this article with your friends and colleagues who might find it useful. Together, let's make screenshotting a breeze!
Table of Contents
Article Recommendations

You might also like
